Create An Asset Pack
Older/Work In Progress Page
- This page was initially written for an older version of Helix, has not been updated, and may be out of date!
- Contributions are more than welcome (see buttons at the top right of the page).
Tip
Before starting: 1. Ensure you've set up your project as outlined in Setting Up Unreal Engine. 2. Familiarize yourself with the Package Guide to grasp key concepts referenced in this guide.
Creating an Asset Pack#
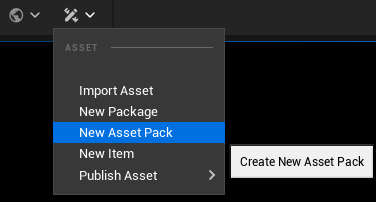
Open Studio and navigate to Asset -> New Asset Pack.
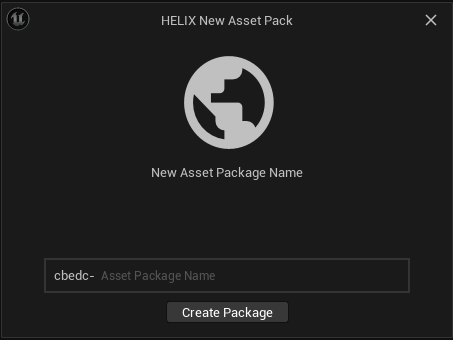
After clicking on New Asset Pack a pop-up window will be shown.
- Name the asset pack to be created.

Create Package button.
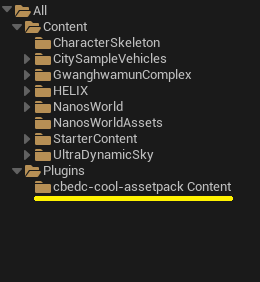
The created assetpack will be shown in the content drawer under All -> Plugins -> [assetpack-name]
The folder will be ready to store custom assets.
Importing Assets#
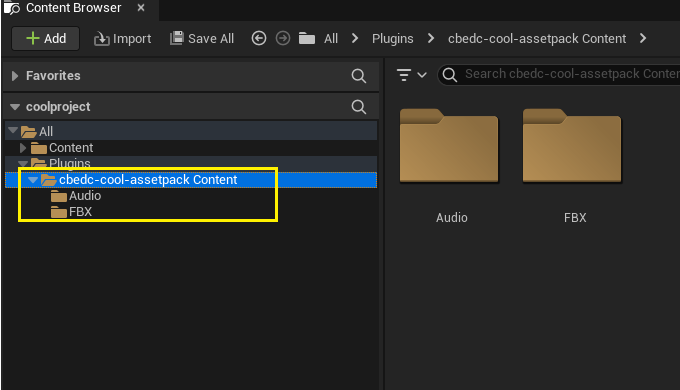
Make sure to place all assets you've created or imported within the Plugin Content folder you've created in the last step. While you're free to create sub-folders to better organize your files, they all need to be housed within this main folder.
Assets like FBX meshes or WAV sounds can be easily added by dragging and dropping them directly from your computer into the respective folder.

Publishing the Asset Pack#
In order to start publishing an item, save your project first by clicking in File -> Save All on the Unreal Engine main menu.
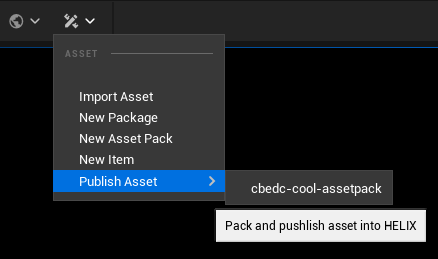
Once you've finalized your asset pack, go to Asset -> Publish Asset -> Asset Pack Name.
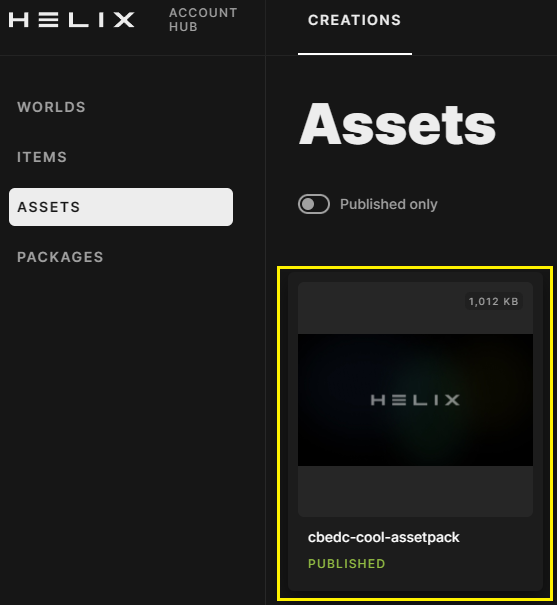
Studio will then cook and upload your asset pack to the HUB.
